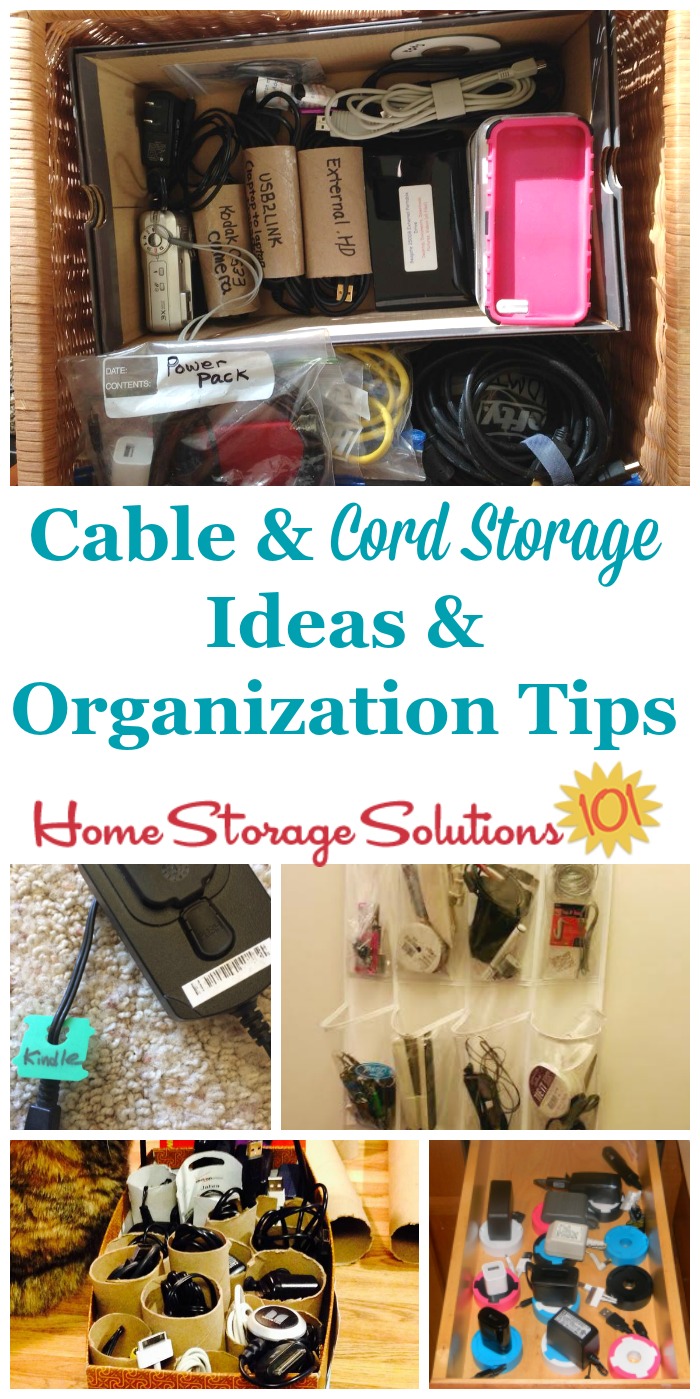
Cable & Cord Storage Ideas & Organization Tips
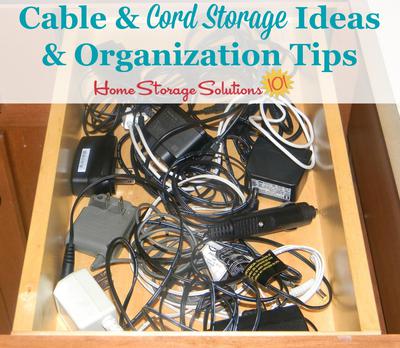
With all the electronics we have these days a rather mundane but pressing need we have is ideas for cable and cord storage and organization.
Below I've provided a round up of various ideas for storage and organization of these items, which include products you can use along with DIY ideas and tips.
Of course, before you begin to organize anything though you want to make sure you're only storing chargers, cables and cords that you actually regularly use, and know what it goes to. There's no point in organizing clutter.
Therefore, if you haven't yet gone through your cords and cables and gotten rid of those that no longer work, those you can't identify and those that belong to electronics you don't even own anymore now's the time. Check out the article about getting rid of cord clutter here for more details.
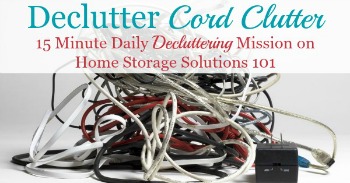
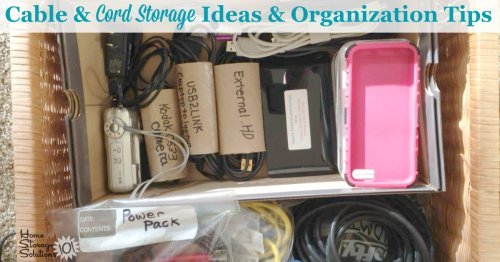
Once you're only left with the cords you do want to keep, check out the ideas below to make sure you can find them, identify them, and keep them untangled for when you need them!
Top image courtesy of Cord Cocoon Cord Organizer, via Amazon
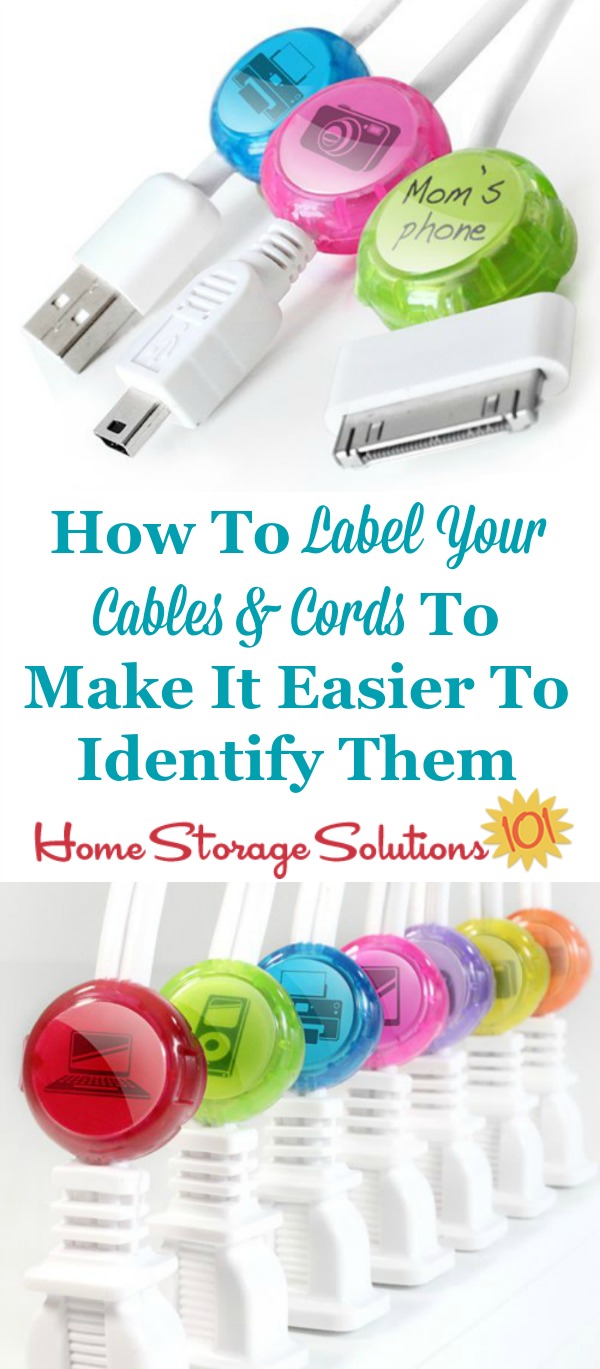
Label Your Cords & Wires So You Never Wonder What They're For Anymore
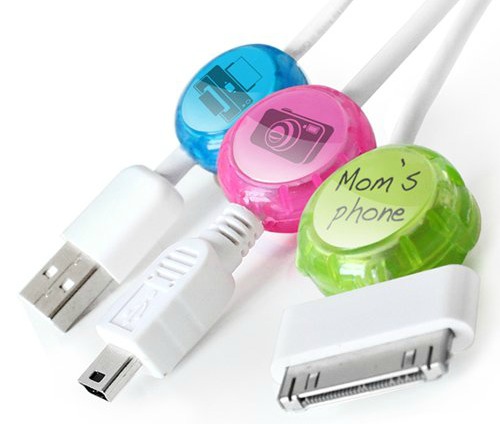 Dotz Cord Identifiers
{Click here to purchase on Amazon}
The next step in this mission, after you get rid of the cables and cords you no longer need, is to make it easier for you, in the future, to find the one you want when you need it.
The easiest way to do this is to label them, so that when you run across a cable and don't know what it's for, you can just look at the label.
One possible way to label these cords is to purchase cord identifiers, such as the (referral link) Dotz cord identifiers shown above and to the left.
These labels clip onto the cords or wires, and have both preprinted and blank sides that you can fill out yourself to label the cords so you don't get confused about which cable is which.
You can also make your own cord labels.
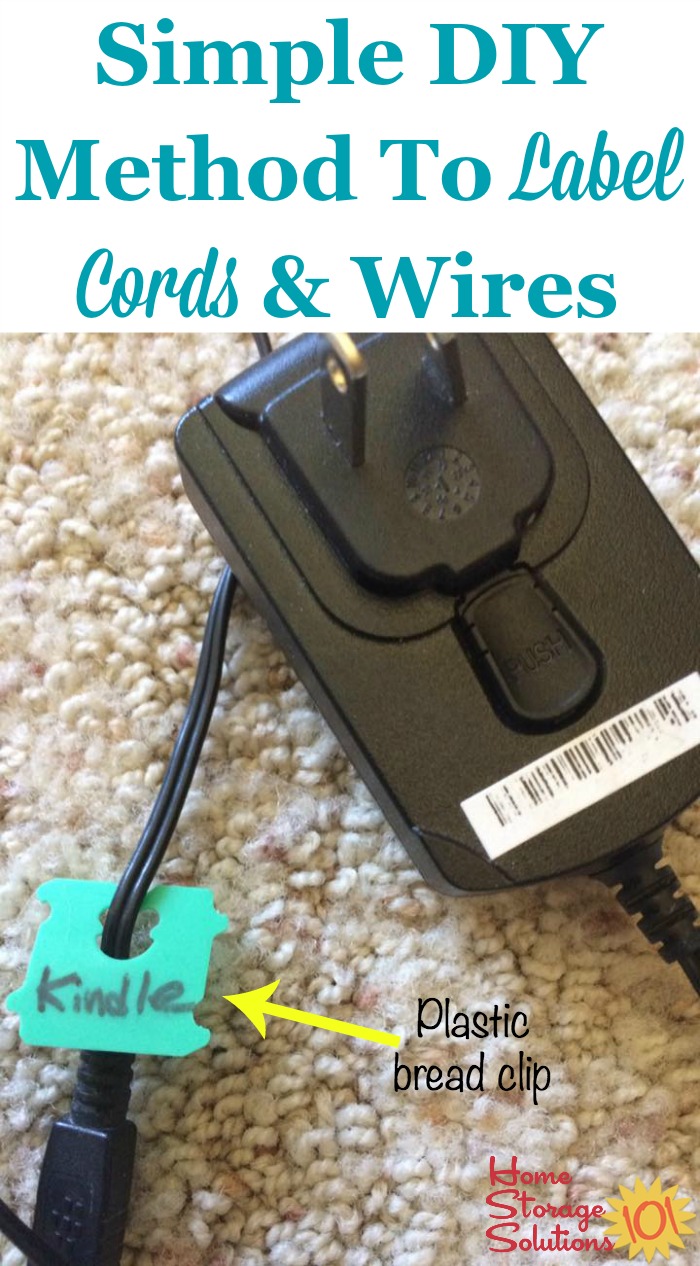
One of the easiest methods for making DIY cord labels is to use plastic bread clips, and add the words of the tag onto the clip with a Sharpie. (That's what a reader, Pat, does and she sent in a picture which you can see below.)
Further, you can also use simple sticker labels to label the cords, such as the ones also shown below.
The key is to label these cords and wires right away, once you get a new one, from now on, so that you avoid confusion from now on.
Here's how to use a plastic bread clip to label your cords. Be forewarned that these clips can fall off, but it's a pretty good DIY solution.
In addition, here are the example sticker labels that I also mentioned above.
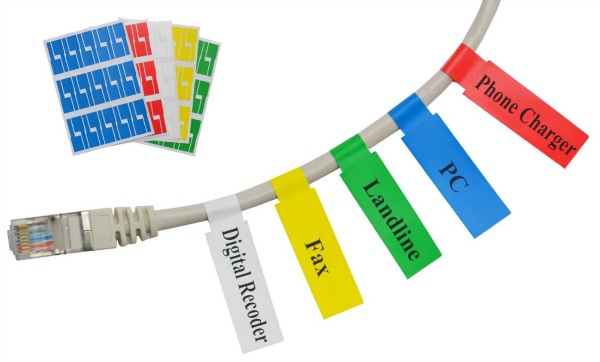 Mr. Label Self-Adhesive Cable Labels
{Click here to purchase on Amazon}
Tie Or Wrap Cords & Cables To Keep Them Separate
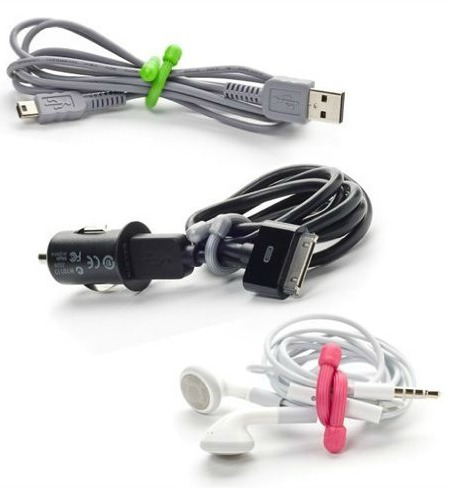 Nite Ize Reusable Gear Ties
{Click here to purchase on Amazon}
If you're tired of all of your cords and cables getting jumbled together, and also getting tangled amongst themselves, tying or wrapping them can fix the problem.
You can use something like rubber bands if you prefer, but something inexpensive yet reusable will make the process easier, especially for cables that you use frequently.
There are many types available, including both rubber twist ties, such as those shown above, plus velcro (and therefore adjustable) wraps, such as those shown below.
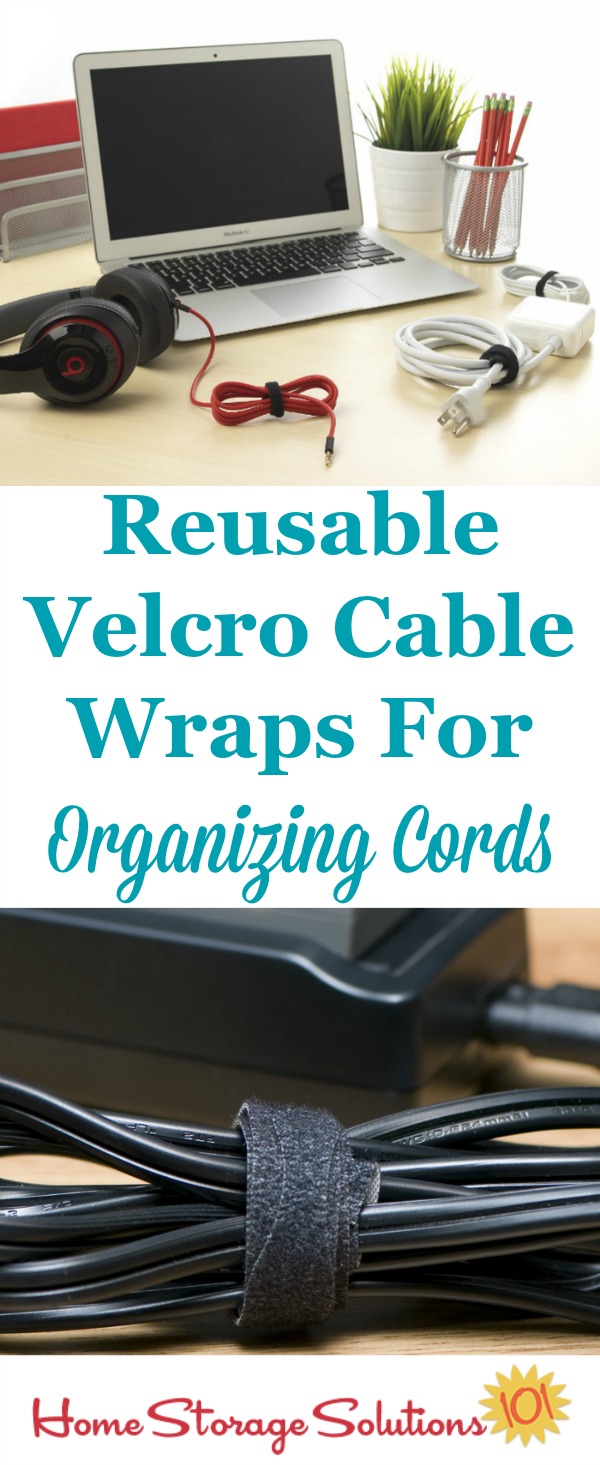 Velcro One-Wrap Cable Ties
{Click here to purchase on Amazon}
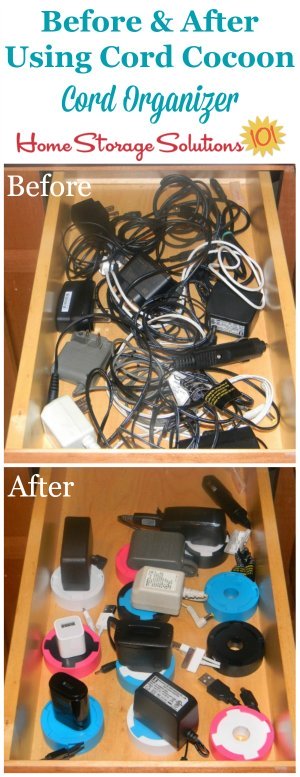
Cord Cocoon Cord Organizer To Adjust Length Of Thin Cables
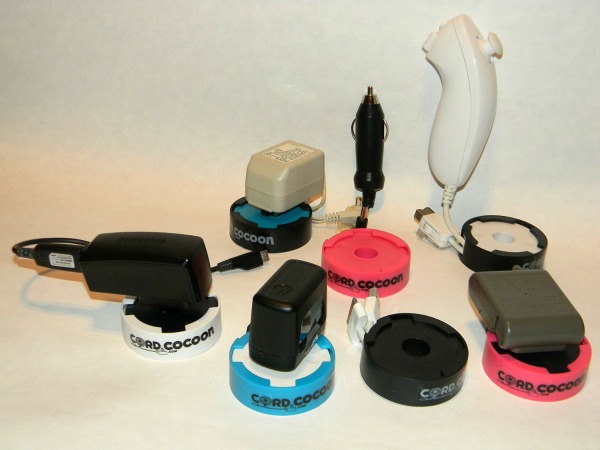 Cord Cocoon Cord Organizer
{Click here to purchase on Amazon}
If you want to both control the length of cable or cord being used for a device, at the same time that you keep the cords from getting tangled in a drawer or similar storage space, you might want to consider a product that keeps the wires completely contained, such as the Cord Cocoon.
This product works well for thinner cords, but because of its design it doesn't fit the thicker cords as well, so keep that in mind before you purchase it.
However, organizers such as this one, which spool out a small amount of cord as needed can be helpful not only for keeping everything from getting tangled when not in use, but also from having wires get hung up or hanging while the cord is in use.
Keep Your Cords & Cables Grouped Together So They're Easy To Find And Access
Once you've labeled your cords and used some means of keeping them from getting tangled, you may find it helpful to group all of your chargers, cables and cords together in one place.
That makes it easier when you realize you need something to always head to the same location to find it.
Here's an example from a reader, Samantha, who did this challenge and sent in the photo below. She said, "I went through all the cords, cables, and wires last year. I keep all of them in one drawer so I'm not looking all over when I need something. I label them so I know what they go to. This has made my life a lot easier. No more tangled cords and when I need to power something up it takes just seconds to find the appropriate cord. I also keep our iPhone stuff in this drawer. Easy peasy challenge for me today. Yay!"
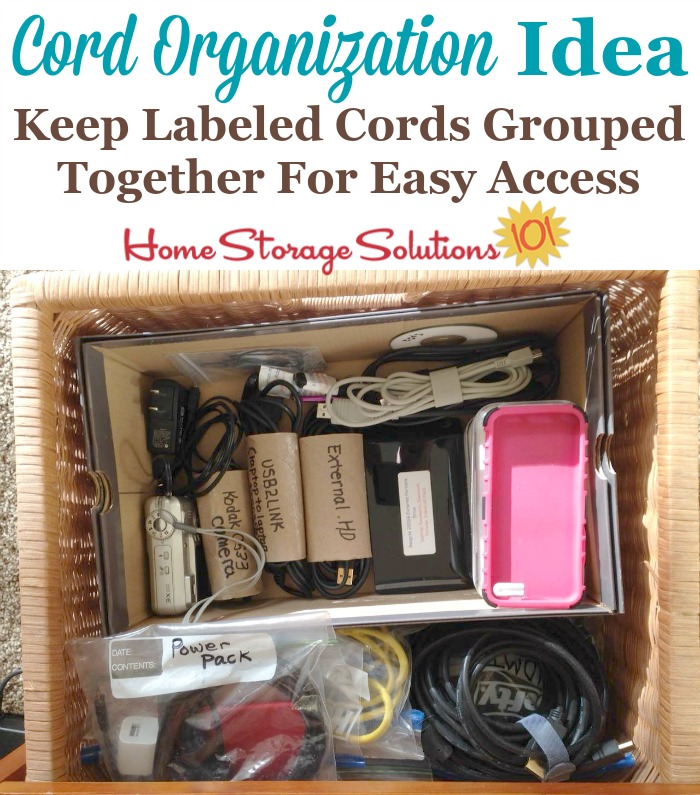
There are additional ways to group your wires and cables together, so there's a couple more examples from readers provided below.
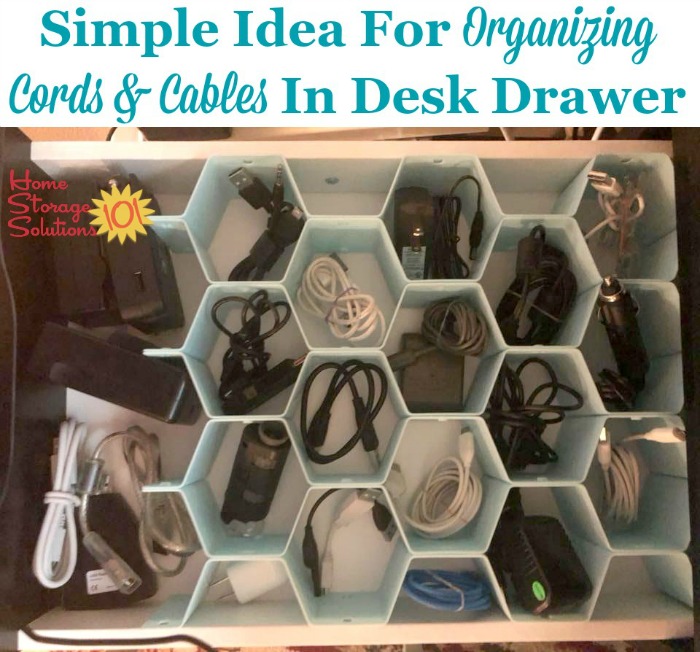
Here's another idea, shown by a reader, Monica. She uses a honeycomb drawer divider, inside a desk drawer, to sort and organize her charging cables.
You can get a honeycomb divider here:
Honeycomb Drawer Organizer {Referral Links}
The great thing about organizing and storage solutions is that there are often multiple ways to do it, which will all work. Find the idea that works best for your space, the amount of cords you've got, your budget, and your personality and preferences!
DIY Cord Storage Solution: Organize With Reused Paper Tubes
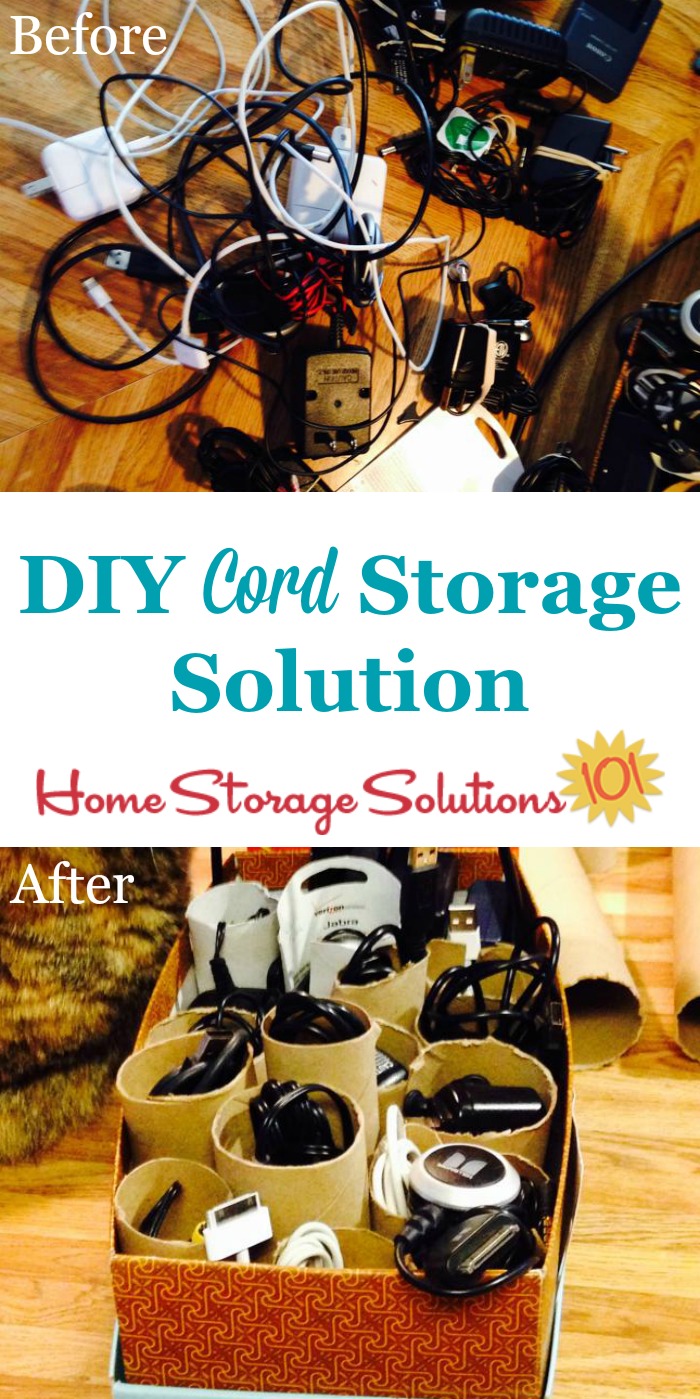
One DIY solution to group all your cords and cables together, but keep them separated and from getting tangled together, and simultaneously label them, is to place them inside old paper tubes, such as from toilet paper or paper towels.
You can see the before and after of this simple do it yourself idea in these pictures below, from a reader Julli.
As you can see she also decided to keep them, instead of in a drawer, inside an old shoe box, so she reused yet another thing with this storage solution!
Use An Over The Door Shoe Organizer As A Cord Organizer
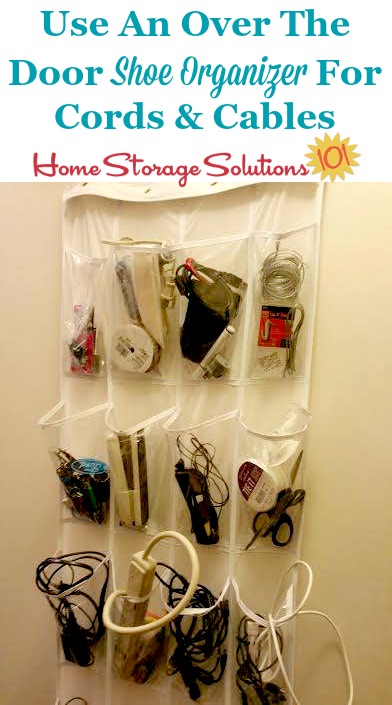
Finally, a couple of readers have shown how they've used an over the door shoe organizer as a cord organizer.
Keeping the cords in the individual pockets of these organizers allows you to keep the cords separate and untangled, and you can even label the pockets, if you wish, to easily identify what cord is what.
This first photo is from a reader, Lisa, who said, "All electronic cords, extension cords, headphones, etc. went into a pocket in this shoe organizer I hung on the door. Now no more tangled cords."
You can get one of these shoe organizers here:
Over The Door Shoe Organizer {Referral Links}
Here's another example of this idea in action, as shown by a reader, Janice. She used labels at the front of each of the pockets of her organizer, and placed all her cell phone chargers, and electronics cords and accessories inside.
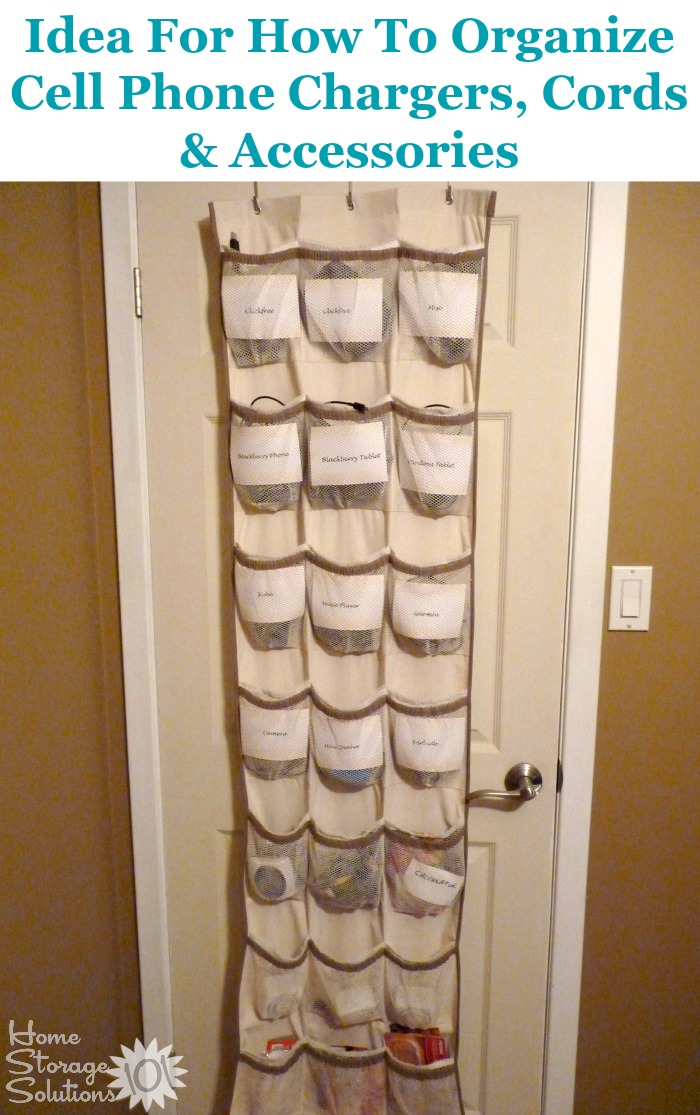
When you use this idea you don't need to use drawer space, but instead space on the wall or on the back side of a door, which might not otherwise get used.
More Home Storage Solutions Ideas
I hope you enjoyed these ideas for how to organize cables, cords and chargers in your home.There are even more ideas for storage and organizing on the site in the {A-Z} Storage Solutions & Ideas round up page. Go check it out if you'd like to see even more ideas.
In addition, if these ideas have inspired you to organize even more things in your home office make sure to read the Home Office Organization Challenge, which is part of the 52 Week Organized Home Challenge I run on the site!
Some links on this page are affiliate links, meaning that if you purchase a product through them I receive a small commission which helps me provide this information to you for free, plus support my family. My integrity and your satisfaction are very important to me so I only recommend products I would purchase myself, and that I believe would benefit you. To learn more please see my disclosure statement.
Related Pages You May Enjoy
Join The 52 Week Organized Home ChallengeGetting Rid Of Technology Clutter Hall Of Fame
Go From Cable & Cord Storage Ideas & Organization Tips To Home Page
Comments for Use An Over The Door Shoe Organizer As A Cord Organizer
|
||
|
||
|
||
|
||
|
||
|
||
|
||
|
||
|
||
